Ever wonder why I don’t get anything accomplished on my punch list, well that’s because when you live in an old house and don’t have the dough to rip the place apart before move in day– you have to take it one repair at a time.
The master bathroom was not really at the top of my list for improvement but a month or so ago we discovered that there was a steady drip down in the basement after morning showers.
Our plumber Doug came over to assist me in determining what exactly was leaking.
First, we ran all of the fixtures and none of them were causing the drip. So Doug had to open up the partition wall that houses the shower/tub plumbing, he didn’t see a leak there but he saw a lot of wet stuff and what he thought was a crappy tile job.

There was a size-able caulk line around the perimeter of the tub where the surround meets the tub and it didn’t appear to Doug that the tile had been carried all the way to the tub deck.
So he sprayed water all over the perimeter of the tub and then it started to drip. Time to call the tile installer. Our tile guy Chris agreed with Doug and we had two choices, we could re-caulk and hope that it held until we were ready to renovate the bathroom or we could re-tile the surround. After some discussion we decided to go ahead and re-tile.
I of course wanted to rip out the tub and have a big shower with frameless glass doors but that’s not in the budget right now.
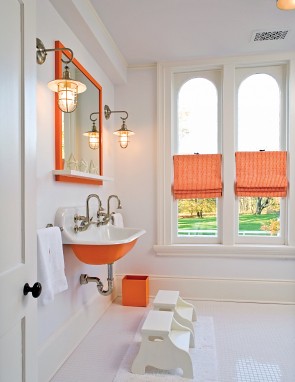
At this point you might be asking yourself, how is it that Sarah has been blogging for like 4 years and she didn’t have the presence of mind to take before pictures? I don’t really have an excuse answer. But the tile before was 6×6 squares that was totally early 90’s tan. I found this image and this looks almost exactly like what the before looked like.

Our original fixture configuration included a shower head, diverter, hand shower and shower valve. The plumber advised me that we would save $200 but eliminating the diverter and shower head from the equation. Since this isn’t the dream bath remodel we need to fix this with some level of style and move on. The fixture set up we would have to save that $200 was a hand shower on a vertical slide bar that would function as the shower head and we would still have the function of the hand shower for cleaning.The set up would look like this,

So I set out to try and find a hand shower with a bell shape that mimicked a shower head for a little pizazz for an affordable price like this,

This Rohl kit above was at my local plumbing showroom for about $600. Pretty, well made but too expensive. Goodbye Rohl display.
OK back to the Delta section. The Delta kit I purchased was $400 with a shower head that I could eventually install upstairs. So just to keep this in perspective, that is $400 for just the fixtures. We’re not even talking about any plumbing, tile material or tile labor.
So we go to Lowe’s to get my trusty American Olean white subway tile and ring up a tab of $500 in tile materials combined with the $150 water proofing material at the tile showroom. I show Chris (tile guy) a picture of the shampoo niches I like,

Chris gets to work and we make progress,


we have a snafu with the niches, they need some adjustment but then Chris finally grouts and then the plumber comes and we are in business,


Project Expenses
Plumbing demo & valve rough in – $349
Tile labor – $900
Tile material – $500
Fixtures – $322.76
Plumbing finish – $95
_____________________
$2,166.76 (what!)
and the leak stopped in the basement, boy I feel much better now.


Yikes! That’s a lot of dough!
What kind of shower curtain you gonna hang over your $2,269 tub!?
well I’m thinking about double linen IKEA curtain panels over the liner, but for now I just put my white terry cloth curtain back up.
Might be a lot of dough but it does look really good. I am currently giving my bathroom a make over so this has been some good inspiration.